If you have the penchant to zip gently around your residential area, then e-scooters are the perfect mode of transportation for you. Like most developed parts of the world, e-scooters in the UK are making quite a trend.
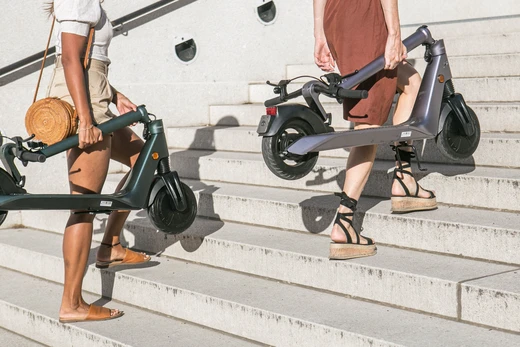
The best part about these sleek, petite vehicles is that they can fold them once they are done riding them. Unlike most folding procedures that require great muscular strength, folding the e-scooter is involves quite simple steps. Especially Electric scooters that are designed with attachments and levers could help anyone to collapse the e-scooter
So, if you are folding the e-scooter, you should check all the components and make sure it is working perfectly. Below, we have listed a step-by-step process of folding the e-scooter, so read on and benefit yourself.
Step no.1
Release the locking levers of your e-scooter
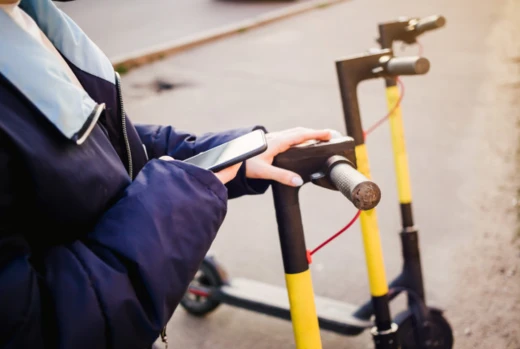
Once an e-scooter rider, is sure that their vehicle is stable enough to stand on the ground, they should release the locking mechanism. Next comes positioning your foot in between the wheels. Now, use make use of your hands, grab the handlebars and stress your foot downwards. Doing this will create more motion.
Step no. 2
Open up the clasp, which is located at the position of the steering column
Now you can move on to adjust the front portion of your e-scooter. Usually, this front part is equipped with a handle, bridging the gap between the footpads.
While doing this, make sure you are using the metal that is round in shape and running halfway through the scooter’s handlebars. Usually, in such cases, one part of the lever is made up of a clasp, making it easier for you to use it and adjust the e-scooter.
Step no. 3
Stress on the release button that sits on the handle to slide the grips
Most e-scooters come with a small button located at either side of the e-scooter handle. This tiny button is situated ahead of the user because of a reason.
Whenever you need to push the buttons, you need to pull the grip aside from the remaining parts and repeat the process on the opposite side.
Step no. 4
Press the column down
Once you have made sure that the clasp is released, you can then adjust the steering column. Next, you are required to commence the folding process, which would require you to press down handlebars by using their right hand.
The column is going to gradually lower itself into the central part of the e-scooter. Once this is accomplished, you are supposed to close the clasp. This step will make the steering column to be in the right place.
Step no. 5
Turn your e-scooter and make sure to tighten your grip around the steering column
After following the steps mentioned above, a point would come where you would need to take a step away from the e-scooter. Keep in mind that you are supposed to lose the steering column.
It is also crucial to grip the handlebar firmly as it is required to control your e-scooter from suddenly sliding away. The handlebar of your e-scooter can be supported with your body parts, or else the steering column will pop right out of the e-scooter.
Step no. 6
Stress down the join and release that lever that sits underneath your e-scooter
Once you have immobilised the steering column, it is now time to find the joint-release lever and use it with your other hand.
Oftentimes, the joint-release lever apparatus is located in the front part of the wheel. Thus you can easily find it adjacent to the column, which creates a fast connection to the footpad.
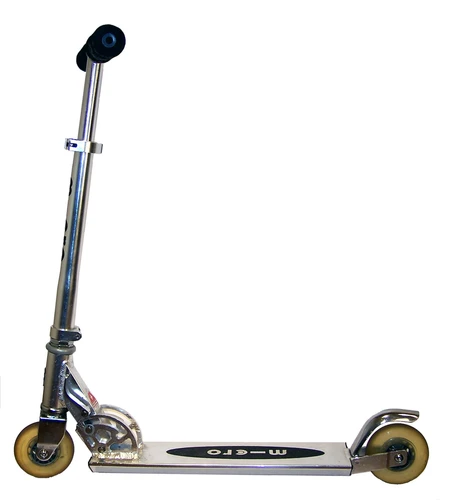
After getting done with all of this, you can turn the lever to the opposite side and gradually release the lock mechanism. Once you are confident that it has turned, you would see that all the e-scooter parts will automatically fold per se. Now, you can place this folded e-scooter anywhere it fits!
A better quality e-scooter comes with more efficient features, making it easier for you to fold them, so if you want UK’s Electric e-scooter in the best quality, visit Gongloo right now!